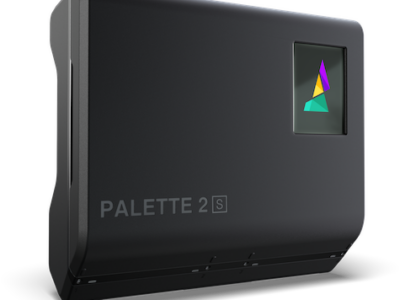
Getting the Mosaic Palette 2 working in 2024
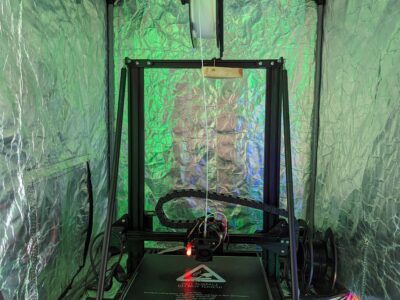
Last week the ‘pick a hobby’ part of my brain returned to 3d printing. I’ve had a 3d printer for about 6 years now and every few months I’ll decide I want to use it to print…something. So I’ll fire it up, then realise that actually it would be so much better with some additional […]